Publish an Android Application on Google Play Store
Introduction
I’ve recently published my first Android application on Google Play Store, a video streaming app named ExoStreamr.
This note describes the steps to publish an Android App on Google Play Store.
I’ll describe how to publish an app for internal testing, but the steps for a public app is very similar and on a follow up note I’ll describe the steps to go from Internal testing to public release on Play Store and also explore the tools for analysing statistics and crashes.
Prepare the App
Recent API Level
Use the latest API level for targetSdkVersion. Google Play store require a
recent API level.
Logging
It is recommended to disable logging. At least verbose logging, i.e. calls to
Log.v(). Debug level logging are stripped at runtime. However creating the
log message will add some overhead in allocating and copying objects, and also
add work to garbage collector. So removing the logging completly might be a
good idea.
Permanent Package name
Make sure your package name is something you can live with. Once the app is published public you can not change the package name. Changing package name cannot be done with an update of the app but instead require you to create a new app in Play Store. You don’t want to do that if you have a user base for your app.
Change Build Variant to Release
Change Build Variant for the application from Debug to Release. In Android
Studio: Build -> Select Build Variant... and change build variant to Release.
Build a singed Android Application Bundle AAB
It is recommended to use an Android App Bundle instead of an apk.
The application need to be signed with an upload key before it can be uploaded to the Play Console.
Build -> Generate Singed Bundle
Create a key store and a key, give a useful name to the key alias e.g. the app
name.
Make sure to store this key. Use the same key to sign any updates to the app, this ensures that the update is done by you. If the key is lost you need to contact the Android developer support team to reset the key.
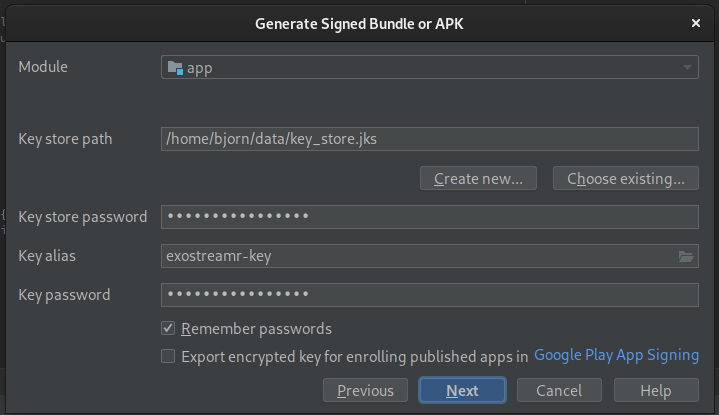
Build the bundle by clicking next and finish the dialog. The bundle will be
located in the app/release/ directory.
Create a Google Play developer account
Apps are published on Google Play using the Google Play Console. Use a Google account to login to Google Play. If you don’t want to use your personal Google account you can create a new account for publishing the app. You will be able to write any developer name (the name shown in Play Store) when providing details for the Google Play account, i.e. it can be different from your Google account name.
When signing up you need to pay a one-time developer registration fee of $25.
After the fee is payed you can fill in details for the account such as the developer name shown on Play Store, the e-mail address, an optional web page and a phone number. You can also see your developer Id here.
Create Application in Play Console
When logging in to the Play Console you see something like this
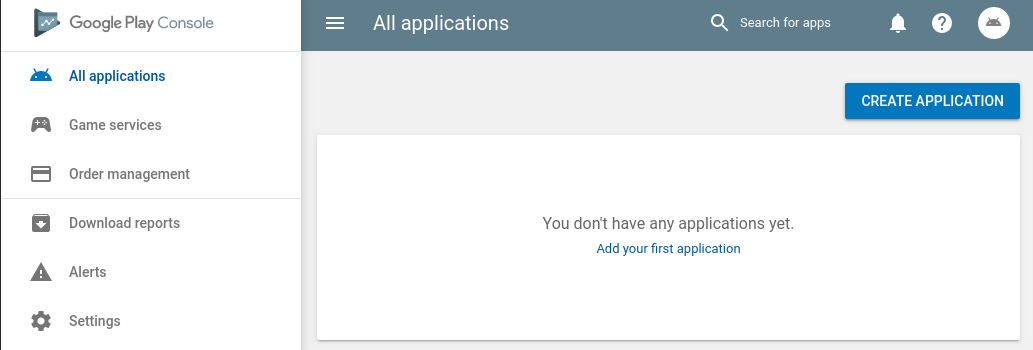
Click Create Application, then you enter the name of the app and click
Create. You will then be presented with the settings for
Store Listing (see below).
There is a whole bunch of stuff you can do in the Play Console. See menu options below
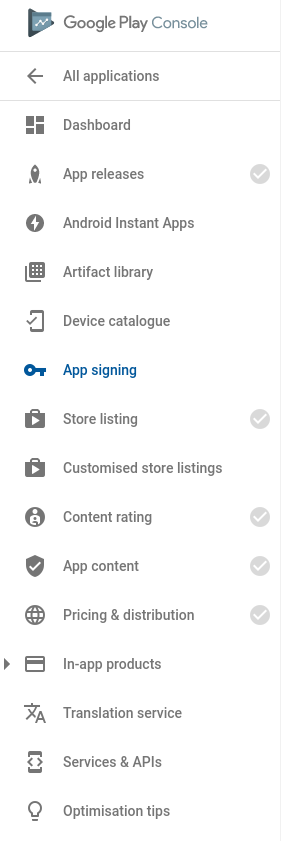
In order to roll out the application all items with a checkmark on the left menu need to be completed. When tasks are completed the checkmark turns green (from initially being grayed out, like in the figure above). When hovering with the mouse over the gayed out checkmark it will say what is left to add before it is completed.
Task that need to be completed are App releases, Store Listing,
Content Rating, App Content and Pricing & Distribution.
Prepare for Rollout
App Releases (upload application)
This is where you can upload and roll out the application. You do that in what
is called a track. As a start I chosed the Internal test track. This track
let you add all information and review how the app will look in Play Store and
install the app from Play Store on a device. There is also a Closed Track
(alfa version), an Open Track (beta version) and a Production Track (the public
release).
Internal test track
Select App Releases in the left side menu in the Play Console.
Click Manage on Internal Test. Then Create Release. Then you should accept
that Google Manages the app signing key. Add the app bundle by browsing for the
file.
Save this as a draft, you need to go back here to do the roll out when all required tasks are completed.
Store Listing
This is where you specify things that goes to the Play Store page for the app. I.e. write a short and a long description of the app, add graphic assets for the app like icon, screenshots and promo video.
You also specify Categorization and Contact Details here and add tags for the
app. Tags affect where the app is displayed on Google Play, e.g. for my app I
use the tags Video Player, Video Players & editors and Video Streaming.
Graphic assets
Make a few relevant screenshots of the running app.
Adding a promo video is done by linking to a youtube video. I’m not sure if a promo video really adds any value unless the App is a game.
A Feature graphic is also needed. If you add a promo video the feature graphic is shown as an image with an overlayed play button to start the promo video. This is an example of promo video where feature graphics is shown:
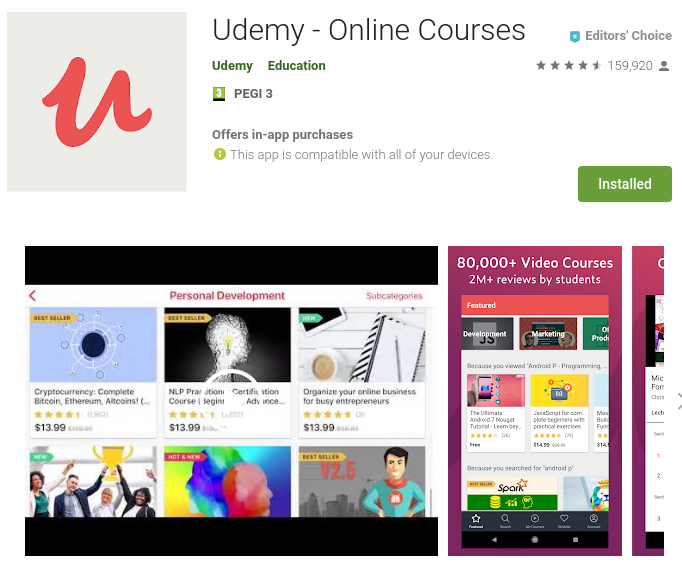
But even without promo video the feature graphic is shown if the app gets a “feature placement” in play store and only apps with feature graphics can get a feature placement.
Content Rating
The application bundle needs to be uploaded to complete this step.
Fill in a questionnaire to ensure for example if the app is appropriate for
children. In Europe, for example, you get the PEGI 3 rating if the app does
not contain sex, violence, offencive language, betting/gambling. When done with
the questionnaire click Calculate Rating and then Apply Rating.
Pricing & Distribution
The application bundle needs to be uploaded to complete this step.
Here you specify if the app is free or paid, if the app contains ads, what countries the app should be available in, what type of devices the app should be available on (Android Wear or Android TV etc).
App Content
To be able to complete this step it is required to specify if the
app contains ads in the Pricing & Distribution step above. Here you specify
the target age for your app. Basically if you target children under 13 you need
to take some action here.
Publish Application for Internal Testing
Select App Releases in the left side menu in the Play Console. In this
description the Internal test track is used so click Edit Release on
Internal Test track. You should already have created the release when the app
was uploaded (see section Internal Test track)
You can’t roll out the release unless you have testers so now when the app is
uploaded you can go back to Internal test page to add testers.
Create a list of testers by adding their e-mail addresses. Then return to the
release with Edit Release.
When done with the release, click Review and after reviewing your Release
and you want to publish this on Play Store you click Start Rollout to internal test.
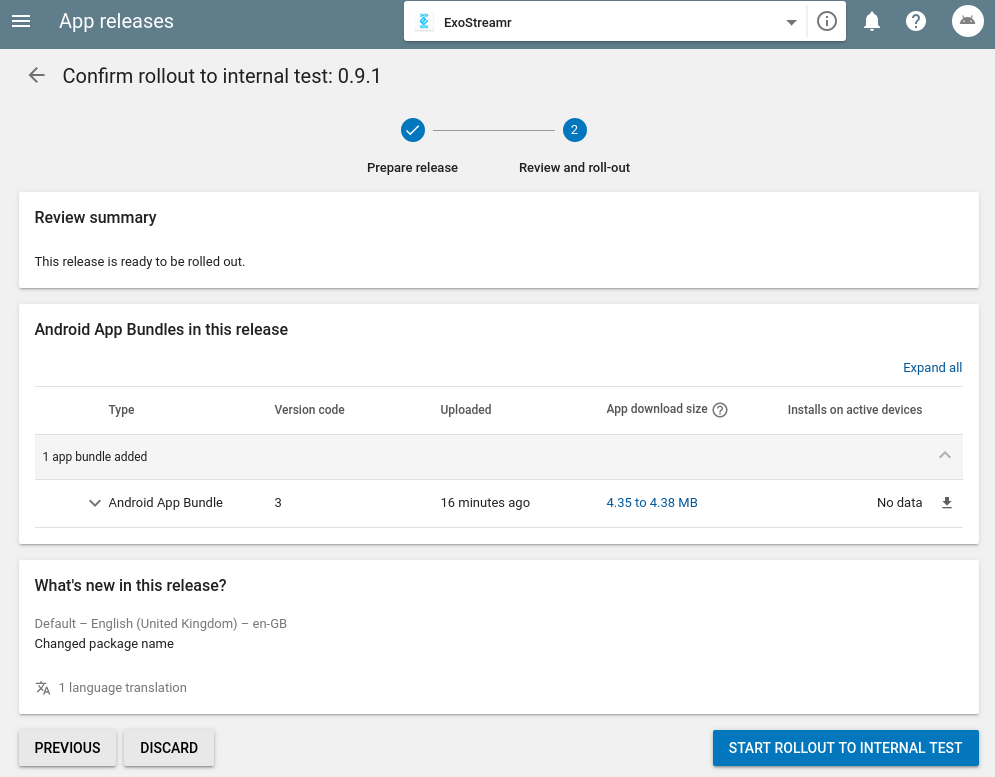
If the button Start Rollout to internal test is disabled make sure you have
added testers in Manage Testers and you also need to make sure all checkmarks
on the left side menu are completed i.e. they must be green as described in
section
Create Application in Play Console above.
Hover with the mouse over any grayed out checkmark to see what’s missing.
Unpublish Application
If you for some reason want to remove the app from Play Store you go to Store
Presence and Pricing & Distrubution where you select Unpublish on
App availability.
Pending publication
When publishing an App it will go into the state pending publication. First time the application is published this process can take ‘a few days’. In my case it took less than 3 days, pending publication from Tuesday after lunch and was published Friday morning.
When the app is rolled out on a track the Play Console changes quite a lot see the figure for the left menu.
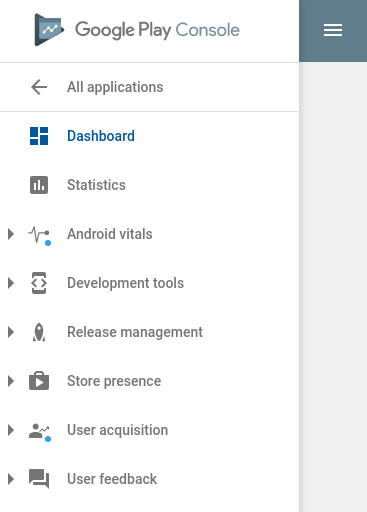
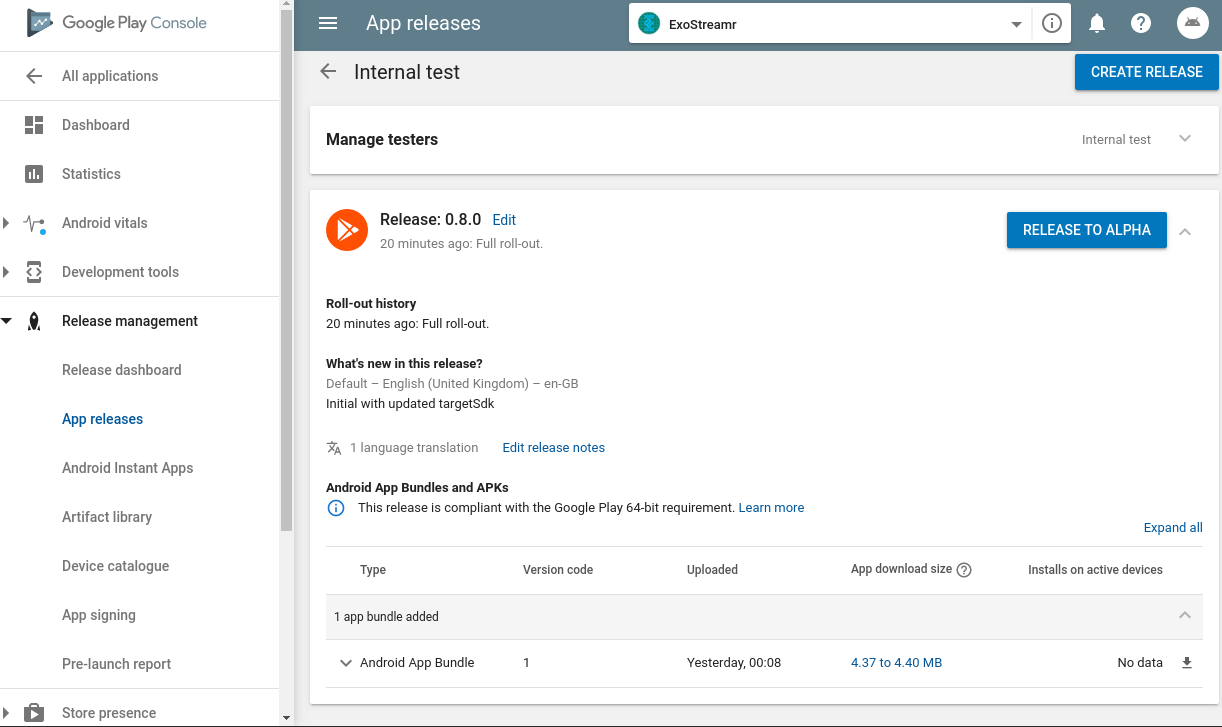
On the left side menu you find Release Management where you can click App
releases to find the tracks where you can roll out your app, such as the
Internal Test track. Click Manage on the Internal Test Track to see the
internal release
Pre-launch Report
While waiting for the pending publication one can view the Pre-launch Report.
Here you will see the results of some automatic tests. The App has been tested
on different devices and you will be able to see screenshots from different
devices with different Android versions.
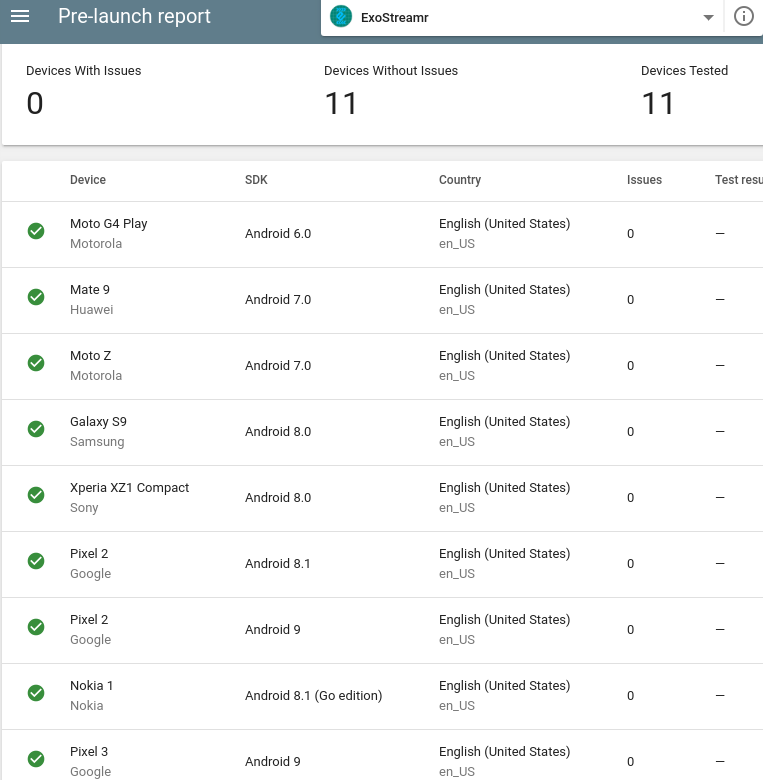
In my case the App was tested on 11 different devices.
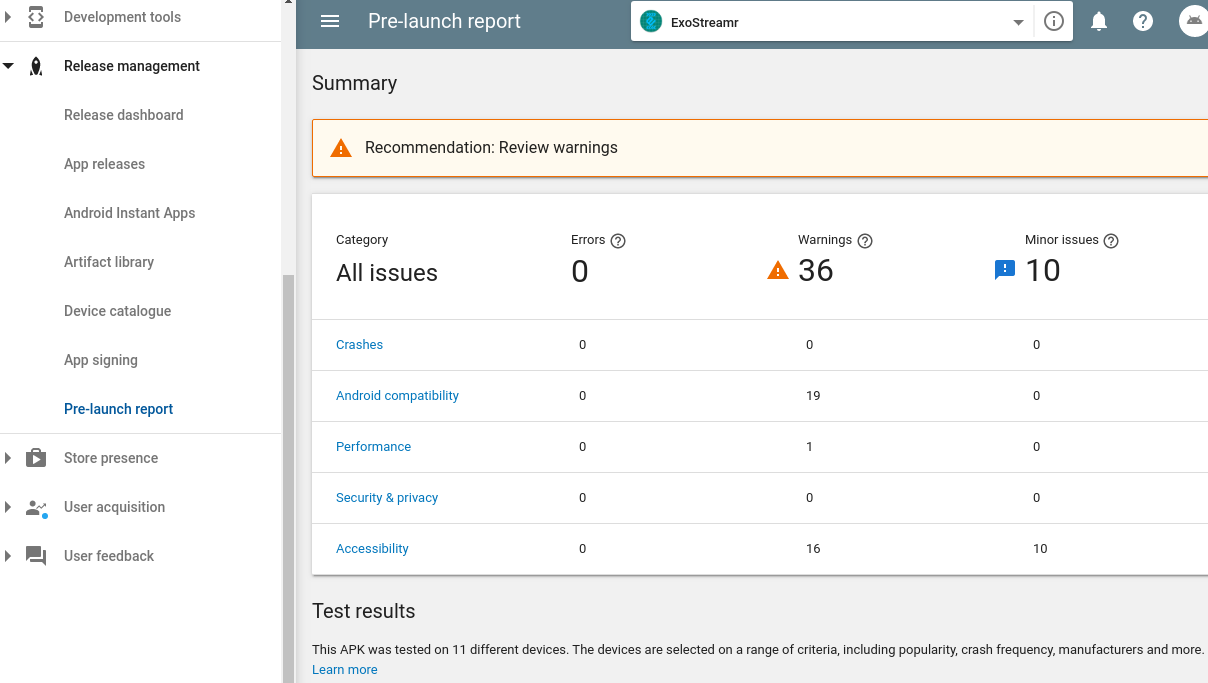
As you see on the issues summary I had 36 warnings where 19 was compatibility issues and 16 accessability issues. When reviewing the issues one can see that the accessability issues mostly where because of views being too small.
Updating App or Play Store data
Under Store Presence everything for the Play Store is present. The descriptions,
the screentshots etc. You can update Play Store information here.
If the app need some fixes and a new release is needed go to Release
Management then App releases and click Manage on the Internal Test
track, then there is a Create Release button to create a new release just
as before.
If the Play Store data (eg. description or screenshots) is updated or a new
release of the app is created the status for the application will again be
Pending Publication. The time for an update publication will be just minutes
or hours.
Install the Published Application
To be able to install the app on a device go to the opt-in url you can find on
Manage testers for the Internal Test track.
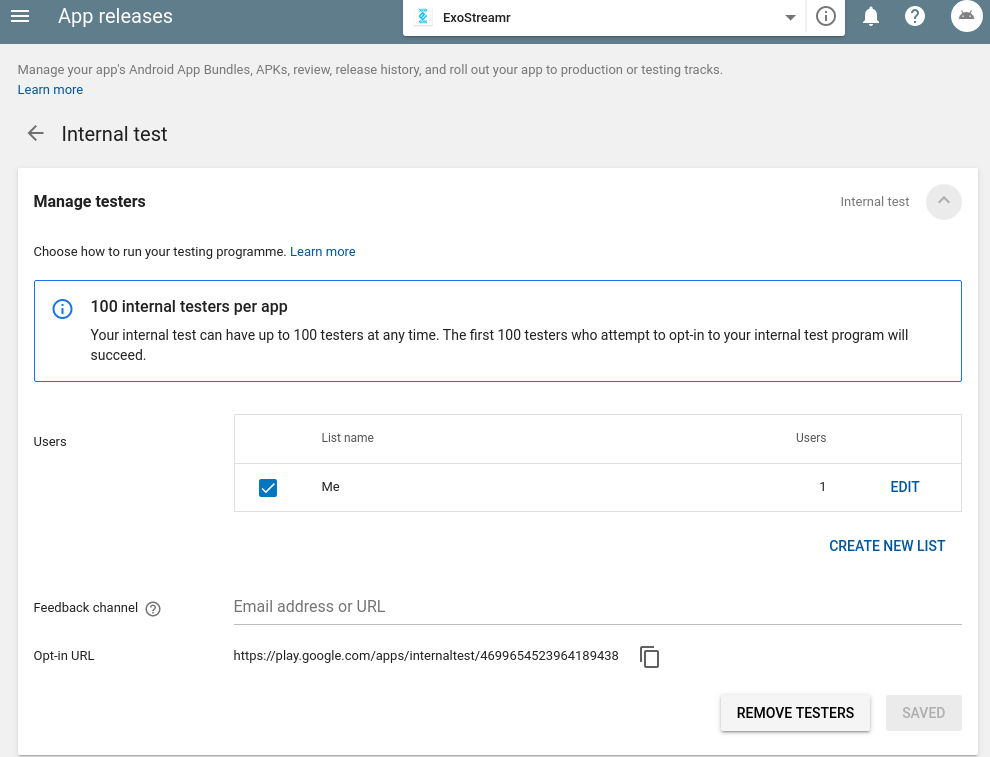
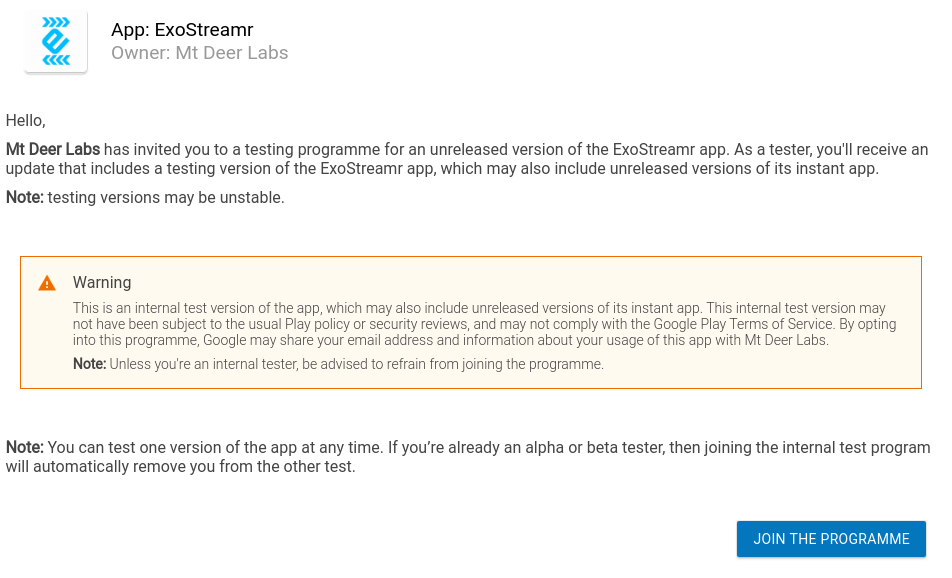
When accessing that url you’ll see an invitation to the testing programme
And when you join the programme:
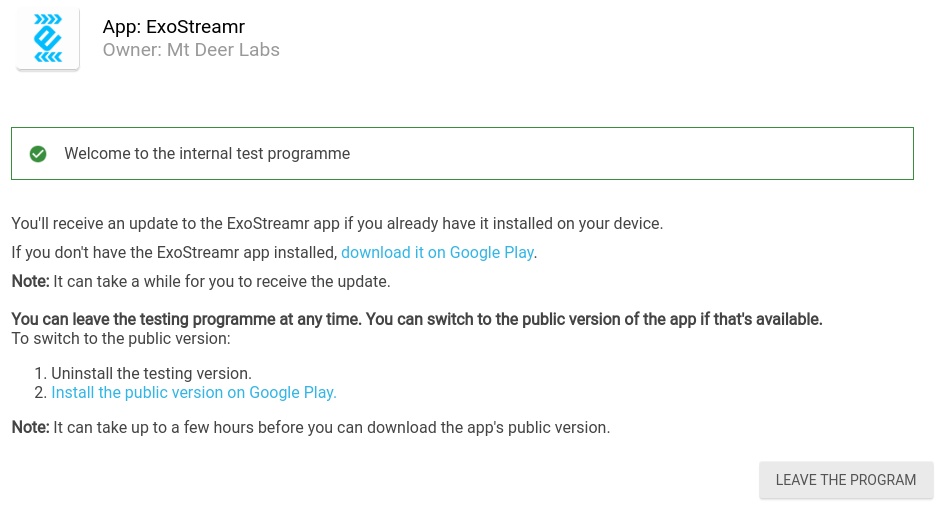
Then click the Google Play link and you will be able to install the app through Google Play Store
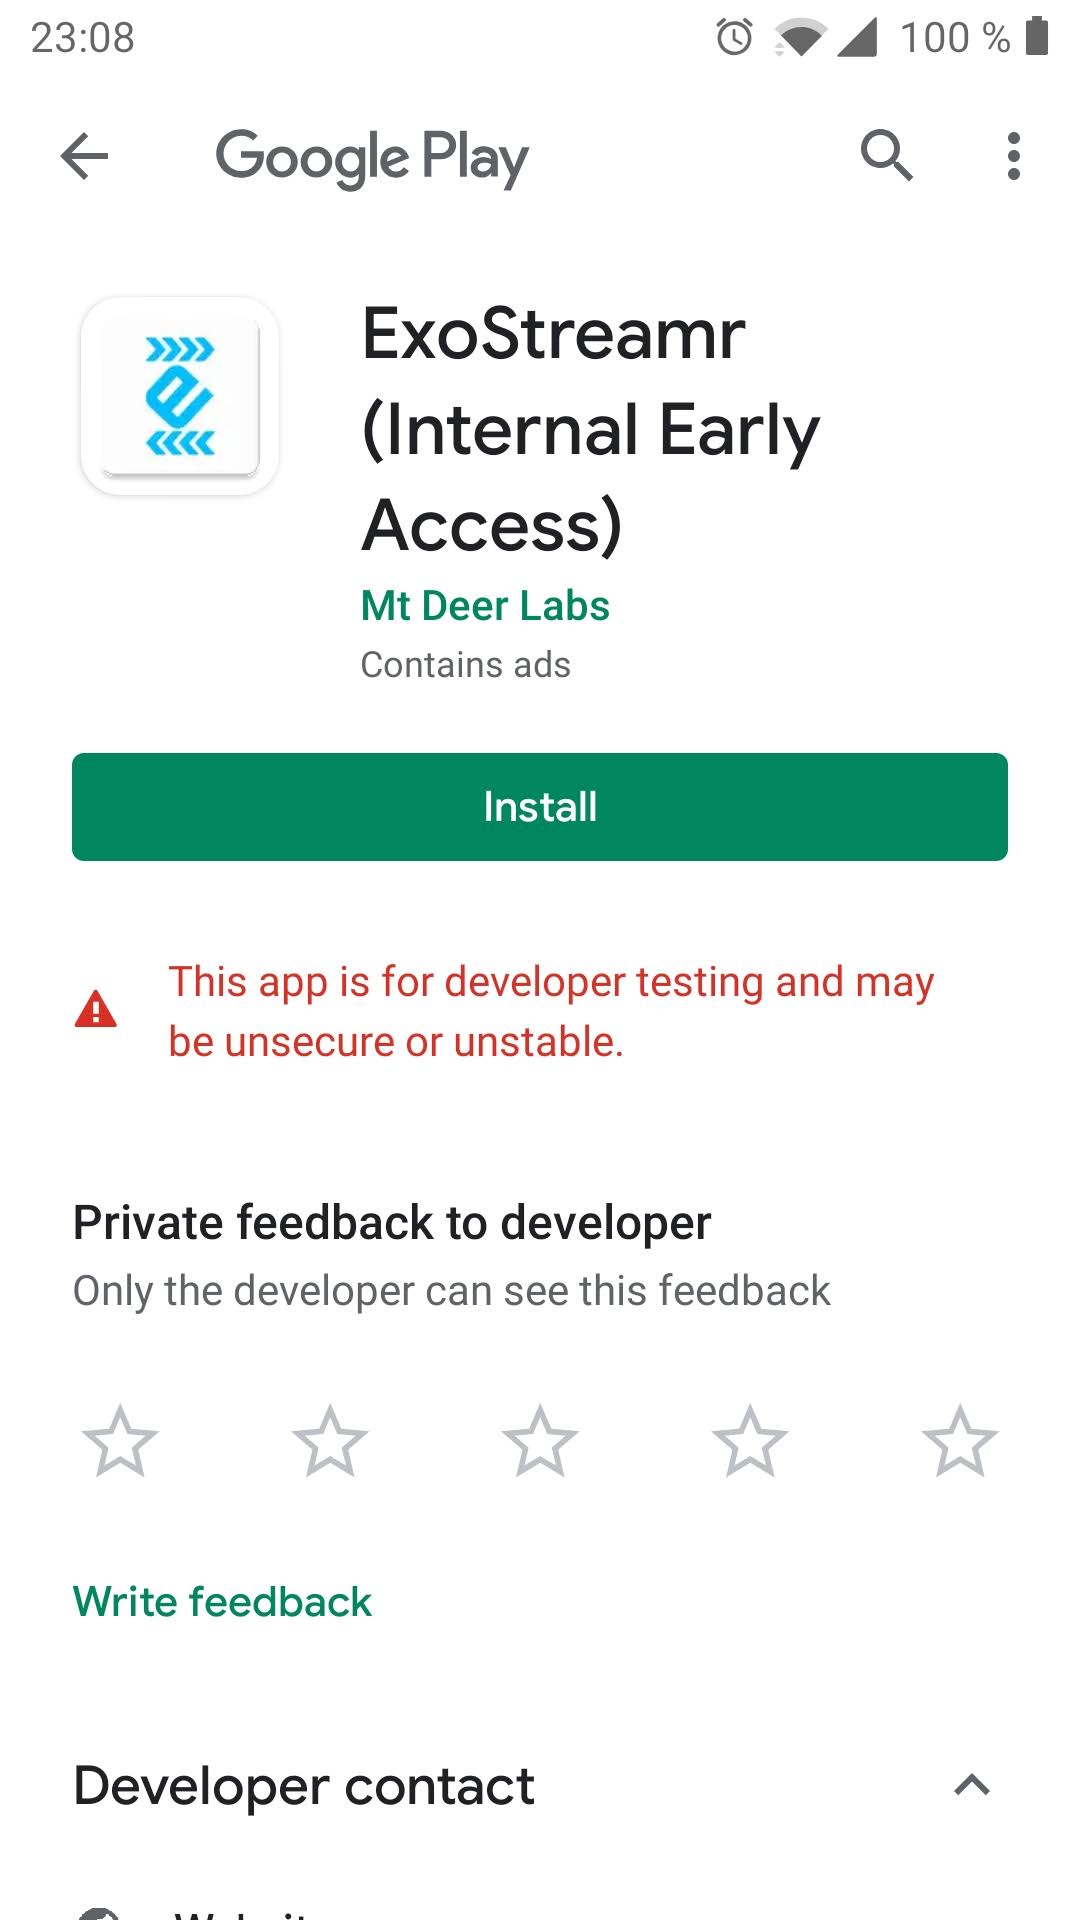
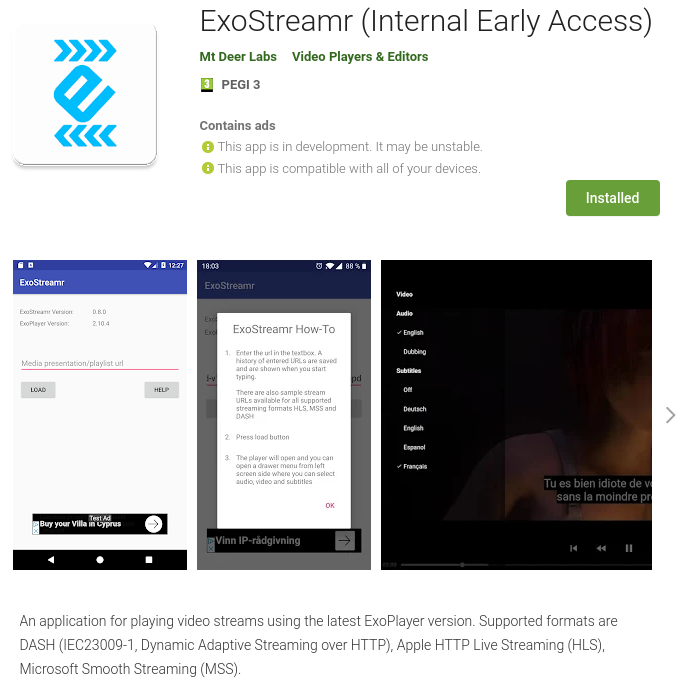
When the app is published and you have joined the testing programme you can view
it on Play Store by using a link on the Console Dashboard to the App’s Play
Store page. As you can see the app is marked with Internal Early Access.
Next steps
The app is now published on Google Play Store Internal test track with all graphic assets and app description in place.
The next step is to make the App public, watch number of installations grow and analyze any problems users might have. This will be covered in a follow up note.
Resources
Publish Your App - Android Developer