Create Android Game Applications from Godot
Introduction
Godot is an open source game development framework that can be used to create games for desktop or mobile devices. This note describe how to create applications for Linux and Android from an existing Godot project.
Setting up Godot for creating native application
A project in Godot can be “exported” to applications for different platforms. To be able to export the application an export template for the target platform is needed.
Installing export templates
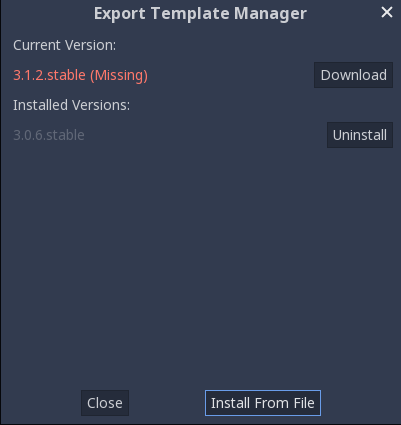
In Godot menu go to Editor -> Manage Export Templates:
In the dialog Export template manager click Download to install export
templates for the current version, you then need to select a mirror to download
from in the next dialog. The export templates are around 400MB to download and
are installed in $HOME/.local/share/godot/templates/<version>/.
Setting up Android export template
Android SDK is needed for creating an Android application so setting up Godot for exporting to Android require some paths to binaries that comes with Android SDK.
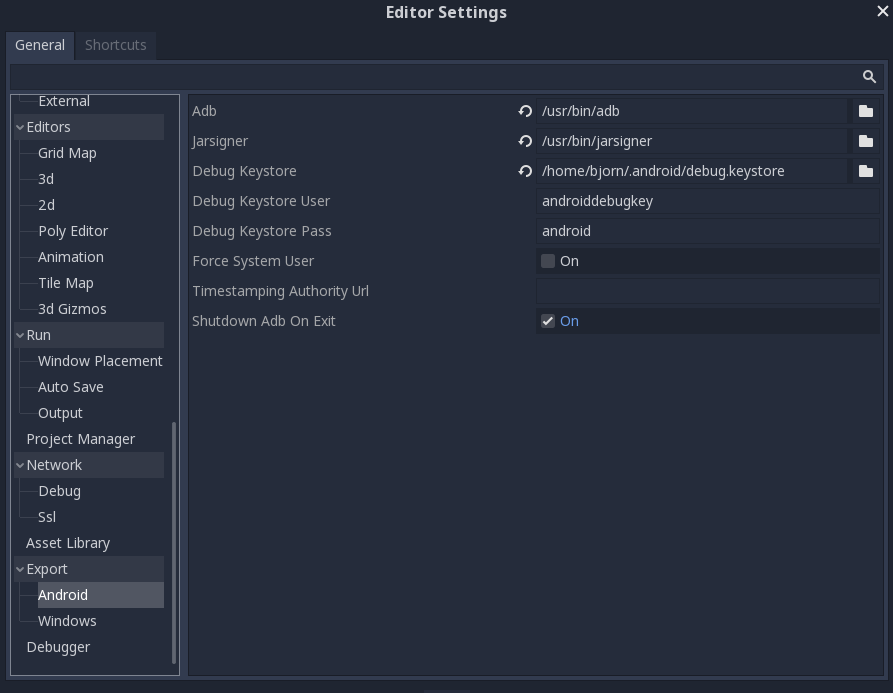
In Godot menu go to Editor -> Editor Settings and scroll down to
Export/Android and add path to adb and jarsigner. adb comes with Android
SDK, jarsigner comes with Java SDK and in my case they are installed in
/usr/bin/adb and /usr/bin/jarsigner. Then add path to the debug keystore,
if you have worked with Android Studio and created an application, you should
already have a debug keystore in /home/<user>/.android/debug.keystore, add
the keystore user androiddebugkey and keystore password android.
Creating Android applications with Godot
For installation on local device
When installing an application on the device you have in hand you can manage with the simplest way of export, Godot will sign the app with the debug key so you don’t need to create a signing key.
Open the Godot project that should be exported to an android app.
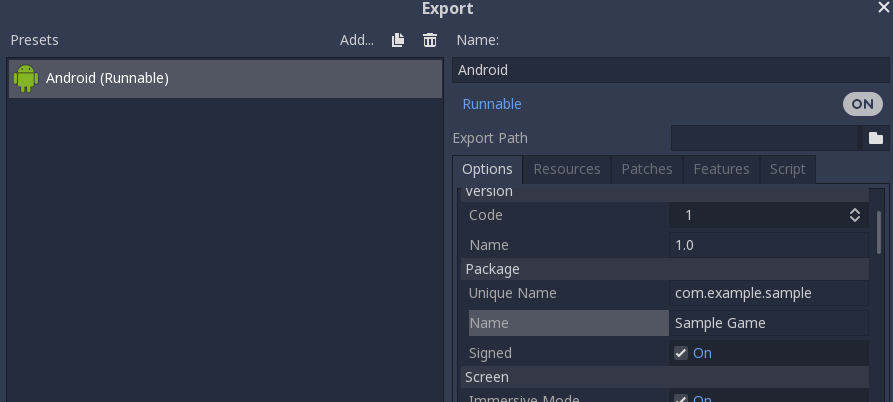
In Godot menu go to Project -> Export click Add… and select Android.
In Export Path enter a Package Name including path to where the .apk should be exported. If none is given the default is that the project directory is opened in the export step.
Under package, write a package name and check the singed checkbox.
Select a launcher icon, if there are any (otherwise there will be a default Godot icon for the app).
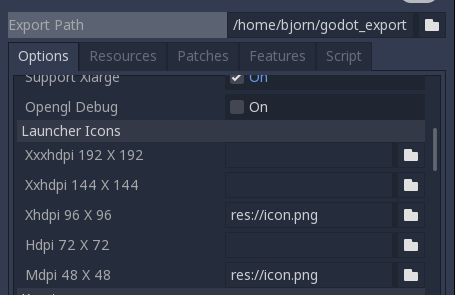
Check the architectures
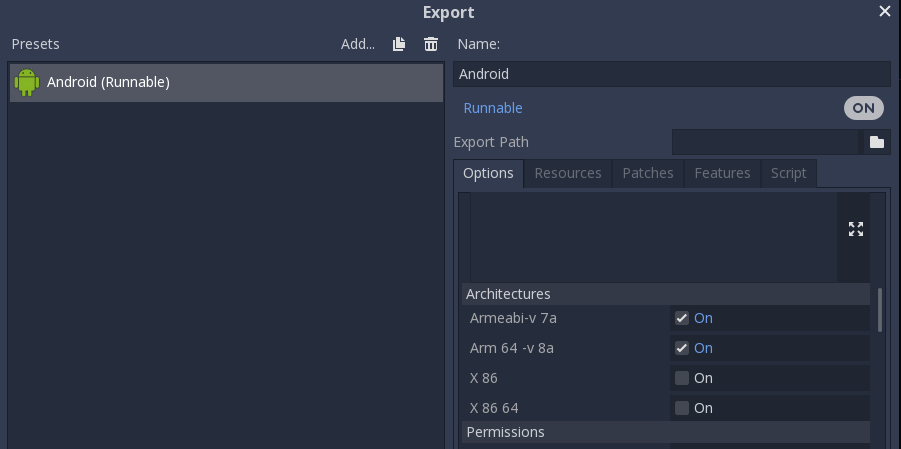
Then you need to check Permissions needed for the application, like e.g.
Access Network State or Internet in case your app need any persmissions.
Click the button Export Project
Ensure that the path is correct and select a feasible name for the apk-file.
Check “Export With Debug”
Click “Save”
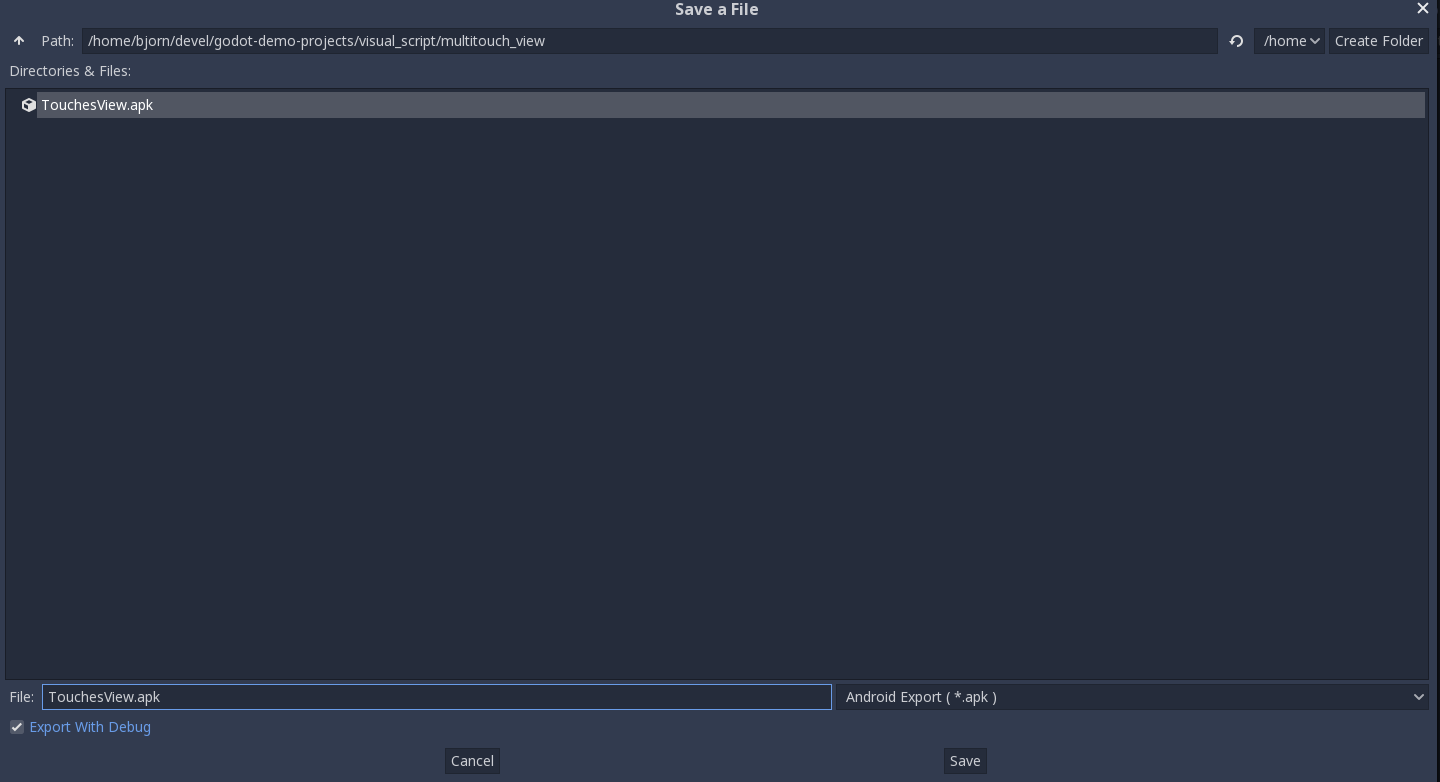
The resulting apk-file can be installed on an Android device with (see my note on how to install an Android application apk-file):
$ adb install <apk-file>
However, it is not possible to upload this apk to Google Play Store since it contains debug info and is only signed with a debug key.
For publishing on Google Play Store
There are a couple of things needed to upload the application to Google Play Store.
Google Play Store requires 64-bit version of the application so make sure that
Arm 64-v8a architecture is checked.
The other thing is that you need to sign the application with a real signing key, in Google Play Console this is called Upload Key. Also the app cannot contain debug info so you need to use a release build.
Create a release keystore like this:
$ keytool -v -genkey -v -keystore bhj.keystore -alias bhj-game -keyalg RSA -validity 10000
The tool will ask for keystore password, then some certificate information and finally asking you to enter a password for the key, in Godot (at least in version 3.1.2) one have to set the same password for the key and for the keystore.
Save this keystore file in a safe place and remember the password you used for the key and keystore. Any updates you will do to this application need to be signed with the same key.
You can list the keystore with
$ keytool -list --keystore bhj.keystore
Then when exporting the application you should now scroll down to KeyStore and
add the keystore file (including path) to Release the key alias to
Release User and the password (which is the same for the keystore and for the
key) to Release password.
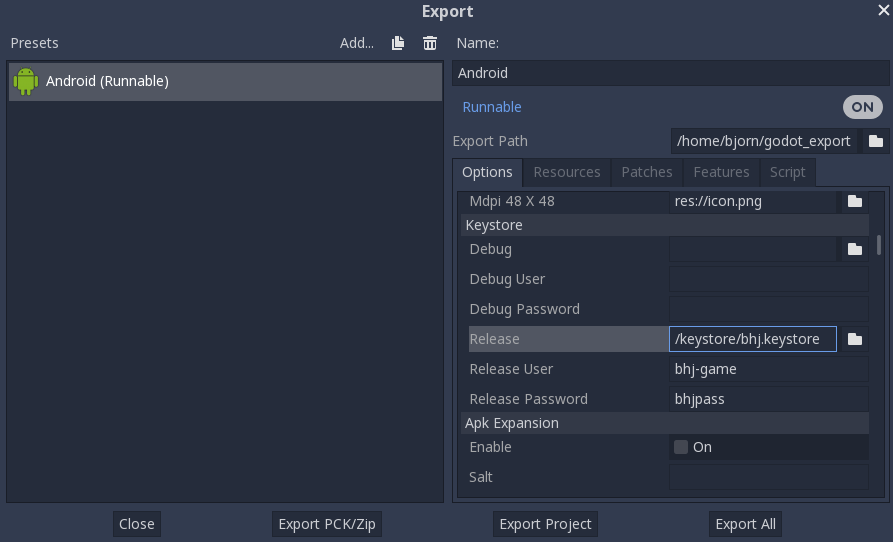
You should then be able to export the application using the procedure described
above with one exception. You need to uncheck Export with Debug before
clicking the Save button since debug information is not allowed on apps in Play
Store for security reasons.
The resulting apk-file should be possible to upload to Google Play Store using Google Play Console. Read more about how to publish an Android application on Google Play Store in my earlier post.
Tweaking Android details
Developers familiar with Android applications may wonder about Target SDK and
other things that can be specified in gradle build files. Unfortunately this will
require you to rebuild the export templates. For example changing
minSdkVersion to a higher Android version will require a rebuild of the export
templates. Update: More on building export template in this later
note.
Linux, Windows and OSX
There are templates for exporting to a number of other platforms as well, of which I have tested only exporting to Linux. Export templates for Linux and the other target are installed when doing the step Installing export templates above.
Go to Project -> Export click Add... in the dialog and select a target to
export to:
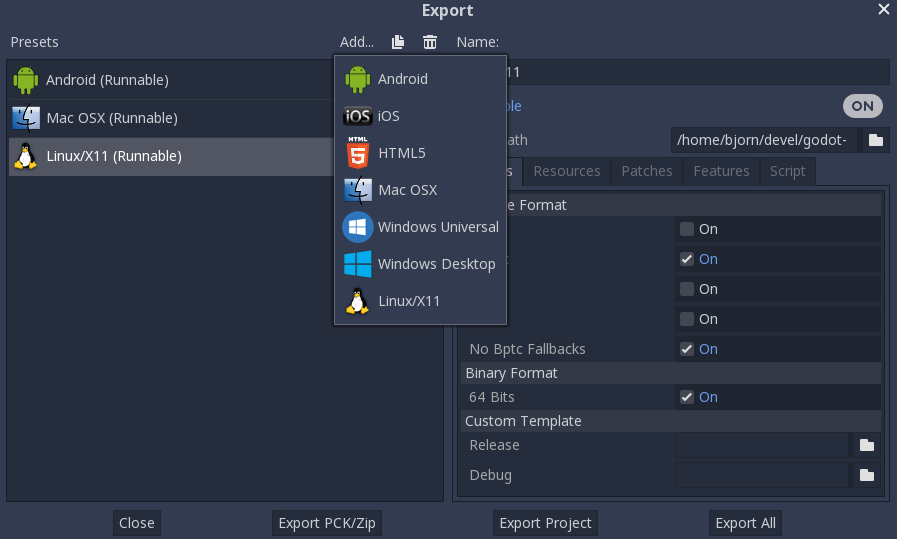
The procedure is simpler when exporting applications to desktops (Linux, Windows and OSX) than for mobile targets Android and iOS.